

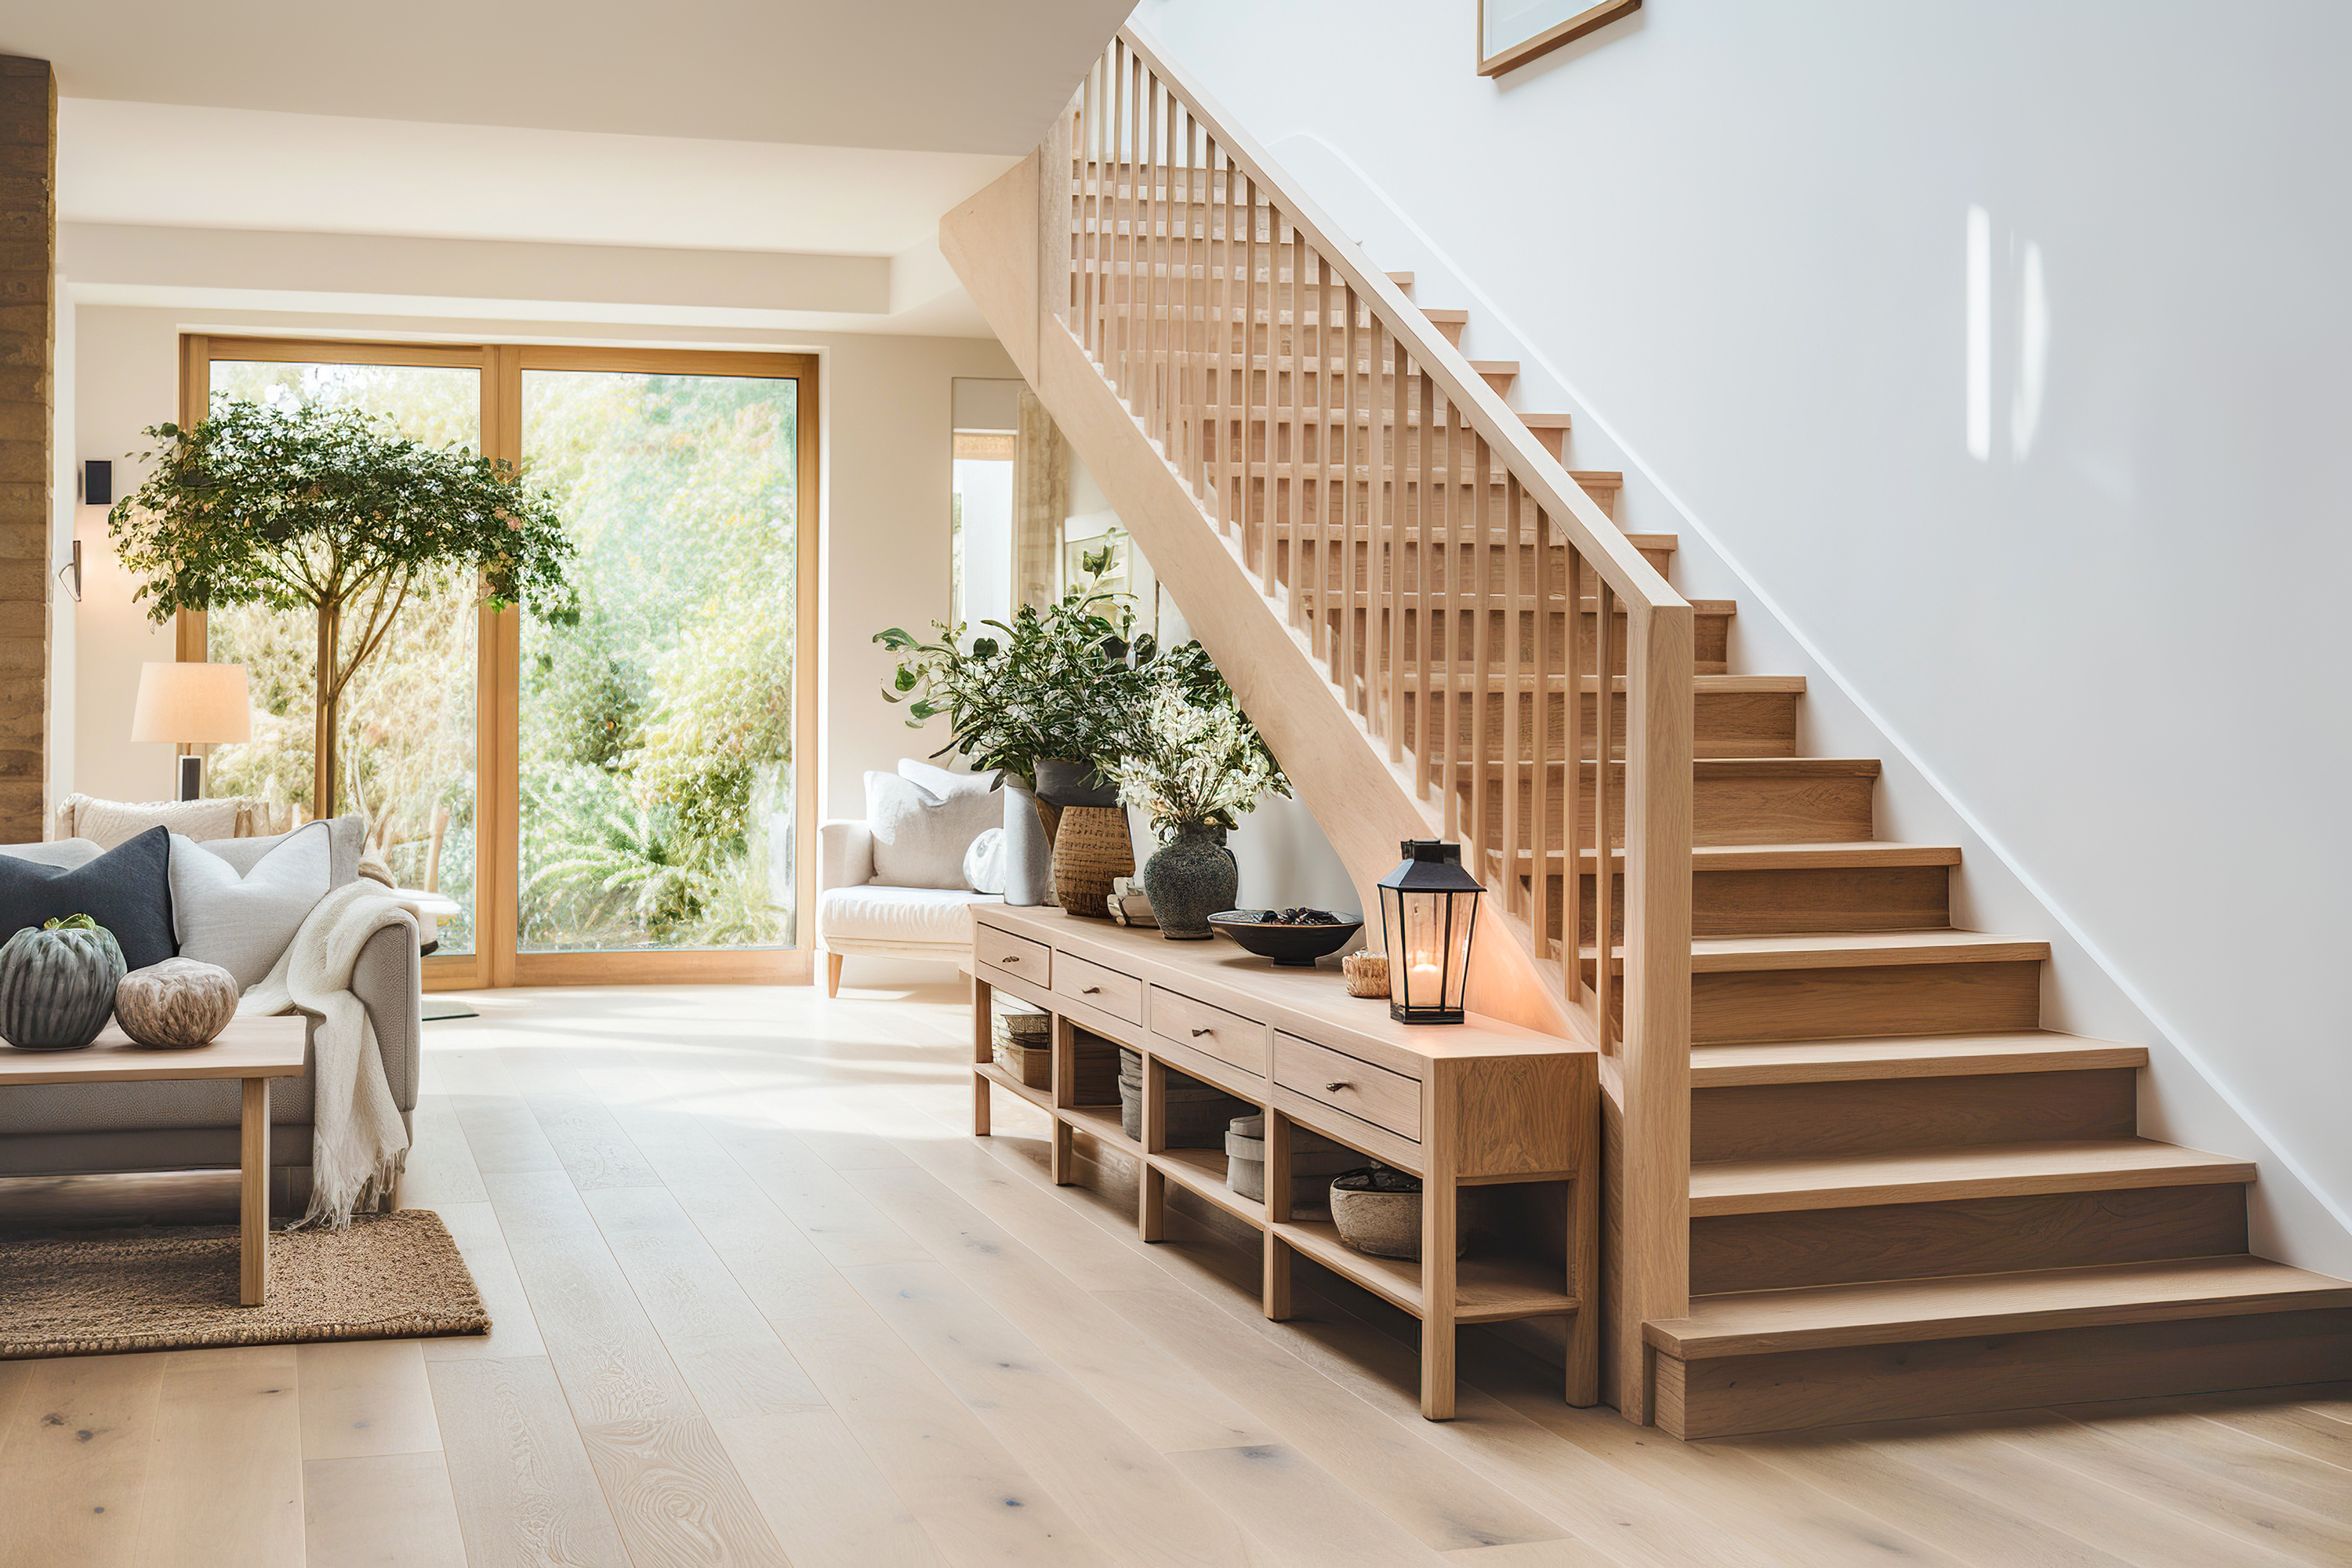
You’ve got an older home with charm for days—original trim, plaster walls, maybe even a brick chimney—and floors that have definitely seen better years. Planning your first hardwood project in a house like that can feel intimidating. You’re not just picking a pretty plank; you’re working with an aging structure, Pacific Northwest moisture, and a budget that has limits.
Below is a step‑by‑step way to think through hardwood so you keep the character you love and end up with a floor that actually behaves in our climate.
Step 1: Understand what your old house is giving you
Before you fall in love with a sample, you need to know what’s under those existing floors. Older homes often have a mix of plank subfloors, patches of plywood from past remodels, and sometimes areas with questionable leveling. All of that affects how new wood can go down and how it will move over time.
In our damp, coastal climate, subfloor moisture and stability matter as much as the species you choose. That’s one reason many homeowners in similar houses look at engineered hardwood constructions, which are designed to stay flatter when humidity rises and falls from October rains to drier summer weeks.
If you’re not sure what you’re standing on now, an in‑home visit from the installation professionals we work with can help you identify subfloor issues long before you order material. The installation overview explains how those teams assess and prep older structures so you don’t run into surprises mid‑project.
Step 2: Choose hardwood that fits PNW moisture and your home’s style
Once you know your starting point, you can look at wood that respects both the house and the climate. The goal is to get the warmth and value of hardwood without inviting cupping, gapping, or squeaks.
For most legacy homes near the Sound, engineered planks are the safer default because their layered core is built to handle seasonal humidity swings. Within that, you still have plenty of room to match your home’s era:
- Classic bungalows often look right with oak species in warm tones.
- Farmhouse or rustic spaces can lean into deeper grain and texture with hand‑scraped surfaces.
If you’re still weighing basic pros and cons—engineered versus solid, plank width, or how hardwood ages in a rainy climate—you might find it helpful to skim the broader hardwood flooring overview before you commit to a direction.
Step 3: Plan for the rooms that don’t play nice with wood
Older layouts often have narrow entries, small kitchens, and utility spaces tacked onto the original footprint. Those zones see a lot of wet shoes, pet paws, and temperature swings from poorly insulated doors. Even with careful acclimation and humidity control, solid hardwood is rarely the best idea right at the door or in a laundry area.
Many homeowners pair hardwood in living and dining rooms with more forgiving surfaces in wet‑adjacent spaces. For example, you might run engineered oak through the main floor and transition to waterproof luxury vinyl planks in the back entry or mudroom so standing water and winter slush aren’t a constant worry.
If you’re still in the “what goes where?” phase and trying to map out the whole house, the educational hub at Flooring 101 is a good place to see how different materials behave from room to room in a Pacific Northwest home.
Step 4: Budget, phasing, and living through the work
In older houses, it’s common to tackle projects in stages: maybe main‑floor hardwood now and bedrooms later, or splitting the work by level. That can be smart, but you want to plan ahead so future phases tie in cleanly—matching species, thickness, and general color family.
Because hardwood is a long‑term investment, it’s worth thinking about both cost and comfort. Some homeowners spread the project out but keep finishes consistent; others prefer to do more at once and use payment plans to soften the upfront hit. If that’s you, Completely Floored offers flexible flooring financing options so you can choose whether you prioritize scope or speed.
However you schedule it, remember you’ll be living in the house during sanding, cutting, and finish work. Good planning with your design consultant and the installation team—what rooms are done first, where furniture goes, how to manage dust—will make the experience much easier.
If you’re ready to start putting real numbers and samples to your ideas, the next step is simple: schedule a visit so we can see your house, your subfloors, and your light in person. You can request a free in‑home hardwood estimate, and we’ll help you map out a plan that respects your older home’s character and works with our Pacific Northwest climate.


